______________________________________
Instructions
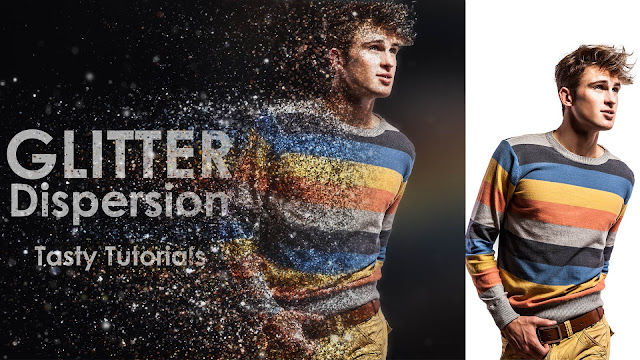
In this video we will create an amazing Glitter Dispersion Effect in Photoshop cc 2017.it's an amazing and detailed effect.first of all you need to have a high definition image.we will create a new layer.Name to that layer should be "brush" in lower case.create a selection of your character and Fill the layer with any color.after that Download and extract actions then load into Photoshop. Run these actions.
If you want to Download these Actions and Used Resource Files Click here:
The video below will demonstrate how to use the action and how you can optimise the look
of your design after the action has finished. The video covers some important techniques
that you will want to use after the action has finished.
If you are not using the English version of Photoshop, you can always change it to English
and then back again to your native language.
-----------------
Please check:
-----------------
1. Your photo is in RGB color mode2. Your photo is in 8bit color mode
3. You are running the English version of Photoshop.
4. If you are experiencing errors, try resetting your Photoshop preferences. To do this,
hold down Alt, Ctrl, and Shift keys (Mac: Command, Option, Shift) while starting up Photoshop.
A dialog box will appear asking if you wish to delete the preferences/settings file.
5. Avoid using small resolution images. For the best results, use Photos between
1500px - 3500px high/wide.
------------------------------------------------------
HOW TO INSTALL THE ACTION
------------------------------------------------------
1. Inside Photoshop, go to the 'Window' menu and select 'Actions'. A window
will now appear to the right hand side.
2. Inside the Actions window, click on the top right hand corner icon to reveal
the drop down menu. From here select 'Load Actions...'. Select the action which
came with the download.
3. The action will now appear in the actions panel.
------------------------------------------------------
HOW TO USE THE ACTION
------------------------------------------------------
1. Open a photo to work with
2. Leave the photo layer locked and set as the 'Background'. To set your photo
as the Background, select your photo layer and go to the menu 'Layer' --> 'New'
--> 'Layer from Background..'. Please also refer to the video tutorial if you need
more help here.
3. Create a new layer above the background layer called 'brush'. MUST be all lowercase.
4. With your 'brush' layer selected, fill in your subject with a color.
5. Now choose a direction and click play on the action!
Again please watch the above video tutorial for a demonstration of these
steps. I also cover some important customization techniques that you will
want to use.
LIKE+COMMENT+SHARE & If you like my content Subscribe my Channel to get every single update of my new Videos.
Thanks
Enjoy


1 Comments
i Cant Click on the download link,
ReplyDelete